Showing posts with label sally hansen. Show all posts

Friday, November 2, 2012

belated halloween post

Hey everyone, tgif! Today I'll be showing you the nails I wore for Halloween (and still have on...). I'm dying to paint my nails, it feels like it's been forever since I last painted them. I got some Sally Hansen Nail Strips at Ocean State Job Lot for half price in February. They were leftover Halloween strips from last year. For only $3, I couldn't help but pick them up. I saved them in my bathroom cabinet for this Halloween, just  hoping I wouldn't forget about them. I'm happy to report that I didn't. Here they are:
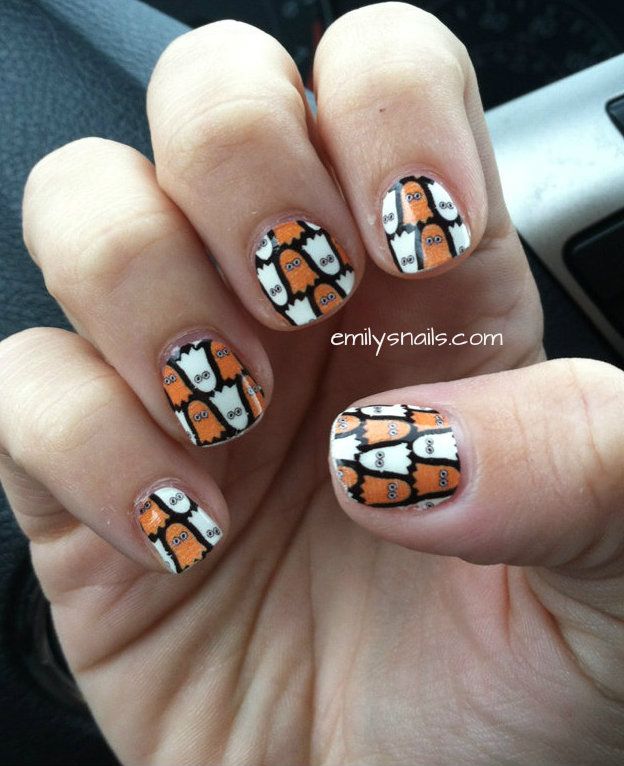


I'm sure you saw these around a lot last year around this time. This was a pretty popular style. I got a lot of compliments on them- it's an easy way to have a fabulous manicure. These ones are called Ghoulie Girl (topped with a coat of Seche Vite). I'm sure they're almost impossible to find in stores now, simply because Sally Hansen comes out with a new collection of manicure/pedicure strips pretty much every season.

I'm always surprised at how easy it is to put these on. I was apprehensive the first time I used them, but my fears were distilled because they're so easy! I personally don't think they're worth the price tag of around $10. I can justify a bottle of polish for that price, simply because you can reuse it many times. These strips are only a one-time deal. Maybe for a vacation or wedding/big event they'd be worth it, because I find that they chip far less than regular polish.

Some tips:
  1. Don't use a base coat: put them on completely clean, dry nails.
  2. Make sure you clean your nails with acetone right before putting the strips on.
  3. Use the mini file that comes with the package: this file is your friend! You can use it to buff your nails prior to application, and also to file off extra ends of the nail strips.
  4. If you find that strips are too big for your nails, use scissors to cut off the extra portion. The strips are very easy to work with in this way.
  5. As you apply the strips, pull them up towards the tip of your nail so they go on completely flat and evenly on the nail.
What do you think? Have you tried these strips yet? Are they worth the money?

Monday, September 3, 2012

Day 3: YELLOW

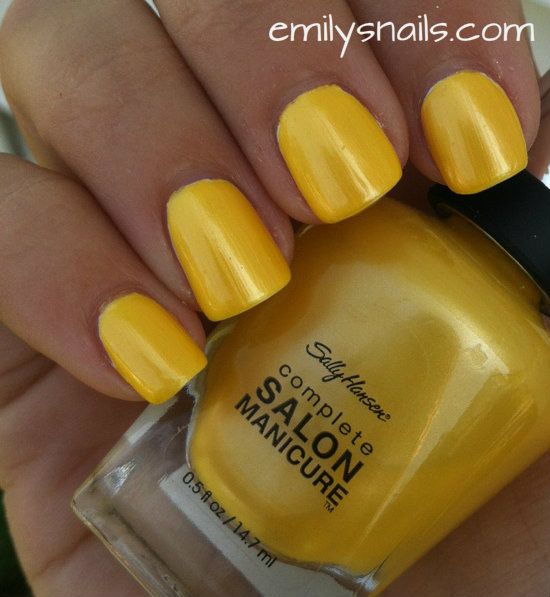
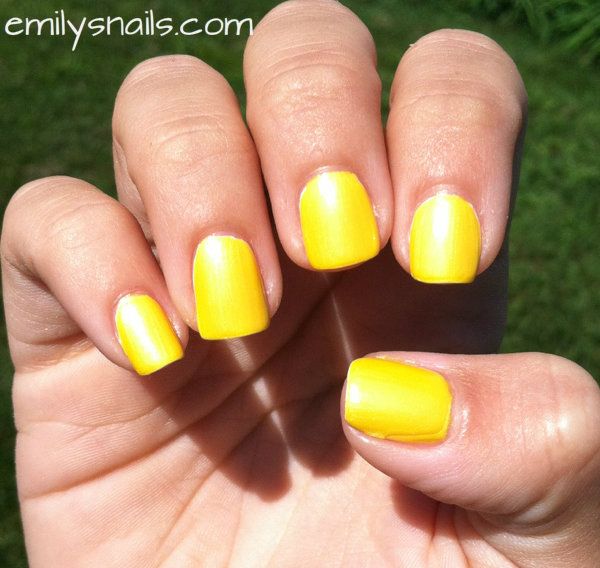
Ahh.. finally caught up. It's only day three and I'm already behind, lol. I can honestly say I've never worn yellow on my nails before, but I'm totally embracing it. I feel really quirky and spunky wearing yellow! I bought this yellow because of the name.. I'm guilty of buying polishes for their names all the time. Sometimes I care more about a polish's name than the actual color. I'm obsessed with sunflowers and I saw this polish at Ocean State Job Lot for $4... how could I possibly resist? You're right- I couldn't.


Pictured is two coats of Sally Hansen Complete Salon Manicure Sunflowers layered over two coats of OPI Alpine Snow. I'm shocked at the formula of this Sally Hansen- it was SO GREAT! I tend to be a brand snob and usually gravitate more towards my OPI's but I was so impressed by this. These normally retail for eight bucks so I should've expected a good formula, but I was really blown away. The brushes were awesome too, I loved the angles of them.

Layering a lighter color or even a neon over white is the biggest tip I recommend to others. It's a great way to make colors pop. My application wasn't amazing, as you can see some tiny faint white spots... but I was in a rush and this did the job. I'm actually pretty happy with it. I recently ordered Zoya Pippa from the recent Zoya BOGO promo and I was hoping to do that for this day, but their shipping is taking FOREVER and I haven't received it yet. Can't wait for Pippa! :D

What do you think of this? Which yellow are you sporting today?

Saturday, July 21, 2012

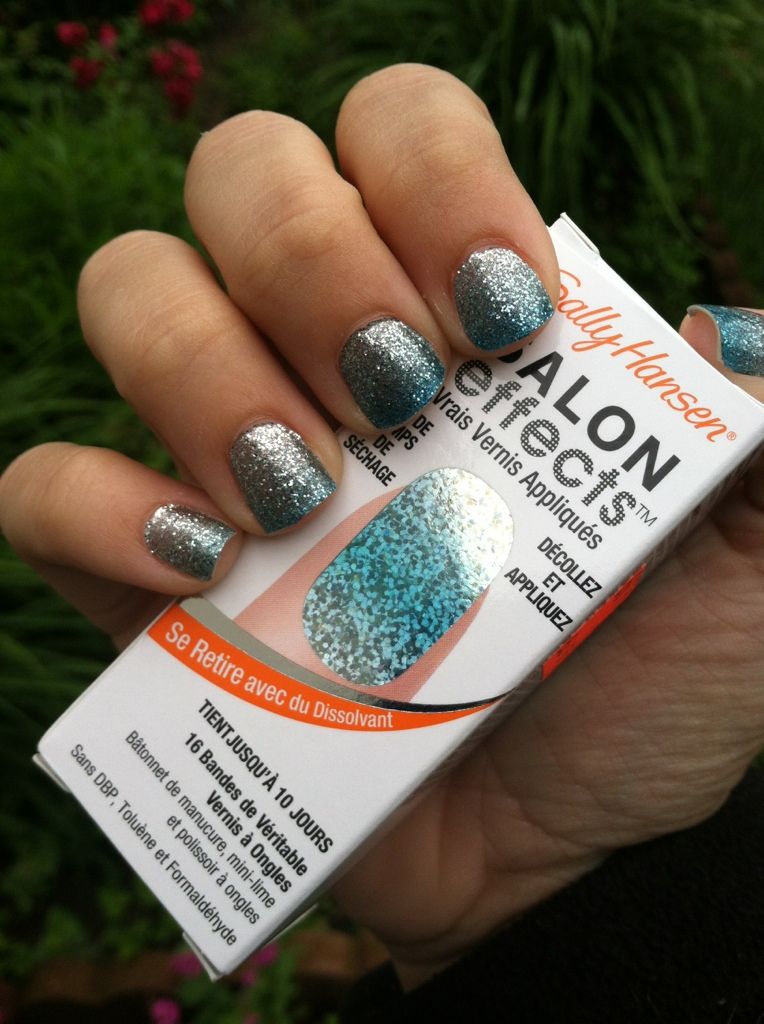
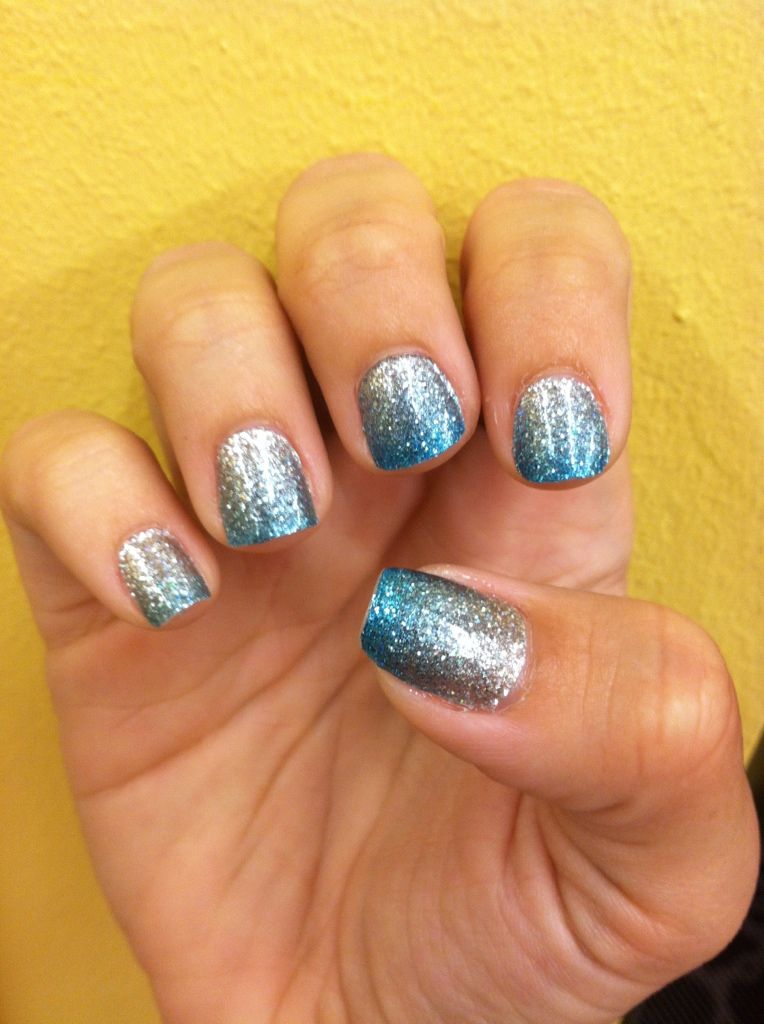
Shhhh- my new love affair with Sally Hansen Nail Effects Strips

this post was scheduled ahead of time! enjoy!
-> today, i'm on the road for 11 hours traveling from maryland to atlanta, georgia!

I first decided to buy these nail strips when I found them on sale at Ulta for $4.99. I've wanted to try them but I did a good job convincing myself that they weren't worth ten bucks. Well, I gave in and bought these. So glad I did! I wore them for about a week. They would've lasted much longer without a doubt- I just got a little bored of them. EVERYONE asked about them and complimented them. Definitely money well spent!


I can't remember the name of these to save my life... I tried looking online and had no luck. See if your Ulta still has them, although I doubt they will because this was a few months ago. Still worth a try! These were from Avril Lavigne's exclusive line with Sally Hansen. Interesting pair, for sure!

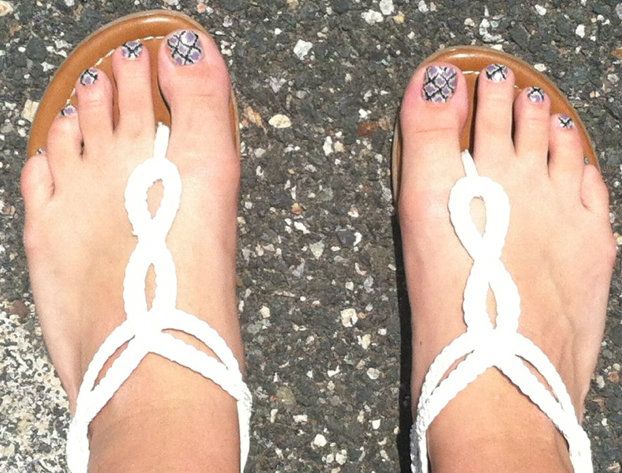
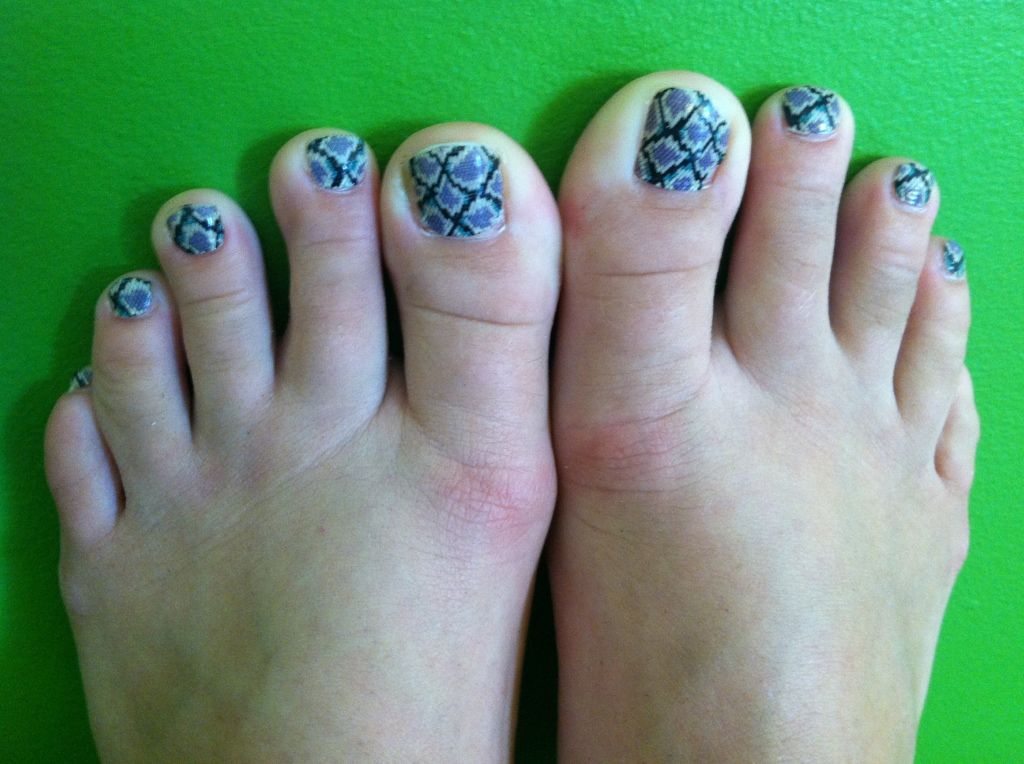
My girl Sally aaaalso makes pedicure strips... score! I would also never pay full price for these but I was lucky enough to find the following ones on sale for THREE DOLLAS! If you don't like feet, skip past the next two images! I made them tiny so as to not scare anyone away, but I promise my feet don't look that bad! FYI: the top picture was a few days after putting them on (maybe a few weeks ago) and the bottom picture was just now.


I love this pattern! Anyway, that's all for now! I hope you all are having an excellent weekend! PS: if you want to see some pictures from my road trip, follow me on Instagram! I'll be uploading a ton all. of. the. time. It's c4rped1em on Instagram! :*

Wednesday, February 22, 2012

Guest Week Day Five: My Dark Valentine (from The Ivy Forest's Jessica)

Hi ladies! Welcome to day five of my guest blogger festivities! Today I have Jessica from The Ivy Forest showing off some awesome nail art. Enjoy!

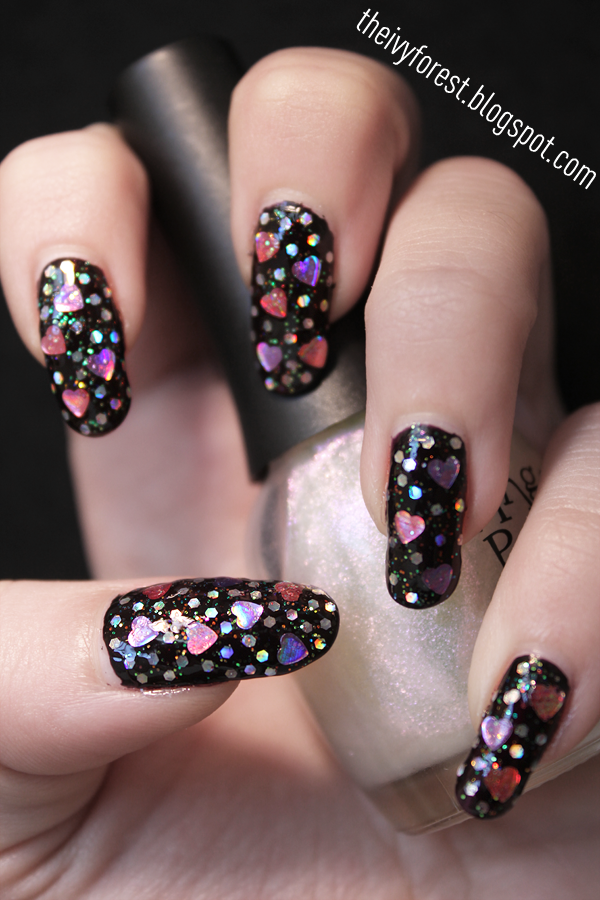
Hello everyone! I'm Jessica, of TheIvyForest.blogspot.com, and I'm so happy to be guest blogging for Emily today! I had so many ideas on what to do for this post, but I bought a new polish recently, I knew I had to feature it in a manicure!


I've been calling this My Dark Valentine! For it I used
Sally Hansen Insta-Dry in Uptempo Plum for the base color
Nicole by OPI Step 2 The Beat of My Heart for the heart glitter
Covergirl 3-in1 Fireworks LE for the silver glitter
LA Colors Crystal Glitter for the micro glitter
and a few coats of Out The Door to top it all off!

Sunday, September 18, 2011

Sunflower Nails

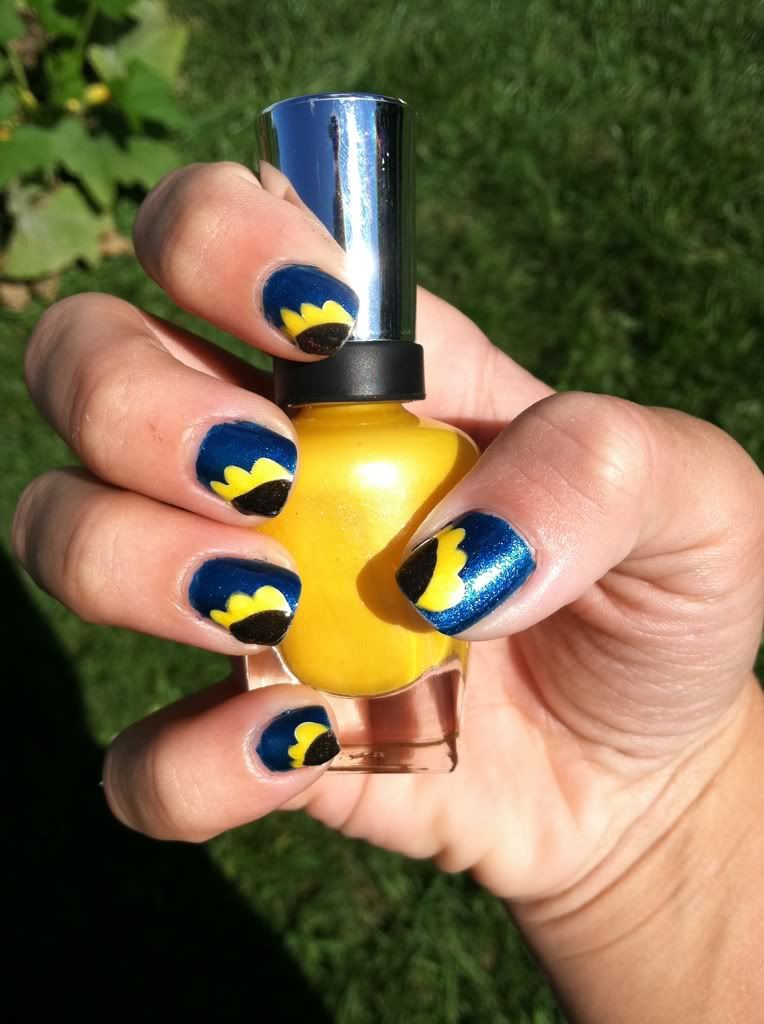
Hi everyone! Happy Sunday!! Yesterday I stumbled upon a sunflower tutorial on Kayla Shevonne's blog, and I knew I had to try it out. Of course, my nails turned out looking nothing like hers but it's definitely better than I expected. I am seriously the least artistic person I know. But, as I've learned with tennis & other things I love, practice seriously helps! I figured I might as well try some nail art so I can get better at it. What better to start with than sunflowers!?